Part of the ReefTech Project Ecosystem













To help us with translation, follow this guide.
HomeAssistant RedSea Reefbeat devices Local Management (no cloud): ReefATO+, ReefControl, ReefControl-Power, ReefDose, ReefLed, ReefMat, ReefRun and ReefWave
The ReefTech projects fit together: the integrations bring your equipment into Home Assistant, the card displays and drives it, and the backup keeps it running through an outage. Each one also works on its own.
| Project | What it does | Works with | |
|---|---|---|---|
 |
🐠 ha-reefbeat-component (this repository) |
Red Sea ReefBeat devices, controlled locally with no cloud: ReefATO+, ReefControl, ReefControl-Power, ReefDose, ReefLed, ReefMat, ReefRun and ReefWave. alert blueprint for abnormal modes, calibrations and low battery.  |
ha-reef-card |
 |
🌊 ha-aquamedic-component |
Aqua Medic pumps through the Gizwits cloud API: EcoDrift and SmartDrift wavemakers, DC Runner return and skimmer pumps. | ha-reef-card |
 |
🐙 ha-reef-maintenance-component |
Cleaning and wear tracking for the equipment Home Assistant cannot talk to: flow pumps, return pumps, skimmers, media reactors, anything you service by hand. | ha-reef-card |
 |
🪸 ha-reef-card |
Interactive graphical view of each device on your dashboard, and the only way to edit advanced schedules. Reads the three integrations above through the shared reef_role contract, with no card-side configuration. |
all three integrations |
 |
🐬 ha-reef-blueprints |
Notification blueprints shared by the whole ecosystem: overdue maintenance found through the reef_role contract, and devices that went unreachable. Eight languages. |
all three integrations |
 |
⚡ reefbeatEnergyBackup |
Battery backup for power outages. A 24V LiFePO₄ pack driven by a Raspberry Pi, with pump speed degraded progressively according to the state of charge. | standalone, or alongside ha-reefbeat-component |
All of them are documented together on the ReefTech project page.
If you need other sensors or actuators, feel free to contact me here.
Important
If your devices are not on the same subnet as your Home Assistant, please read this.
Caution
✅ Supported | 🚧 In progress | 🧪 Untested (may work) | ❌ Not yet supported
Own a device marked 🧪? Please confirm it works here.
| Model | Status | EnergyBackup | Issues 📆(Planned) 🐛(Bugs) |
|||
| ReefATO+ | RSATO+ | ✅ | 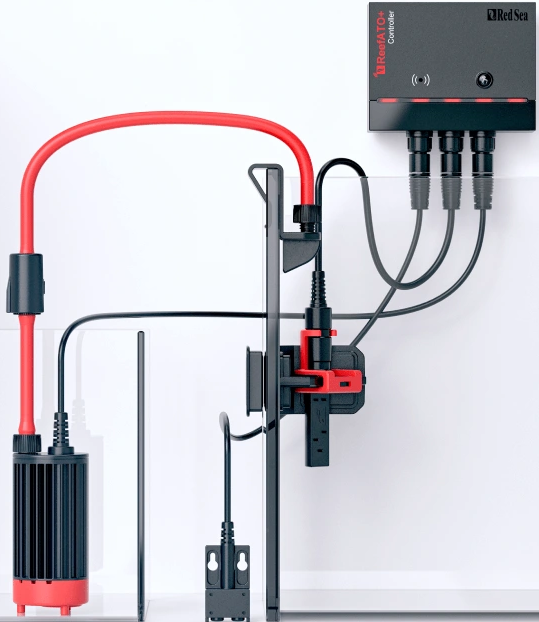 |
– | 📆 🐛 | |
| ReefControl | RSCONTROLPRO | ✅ | 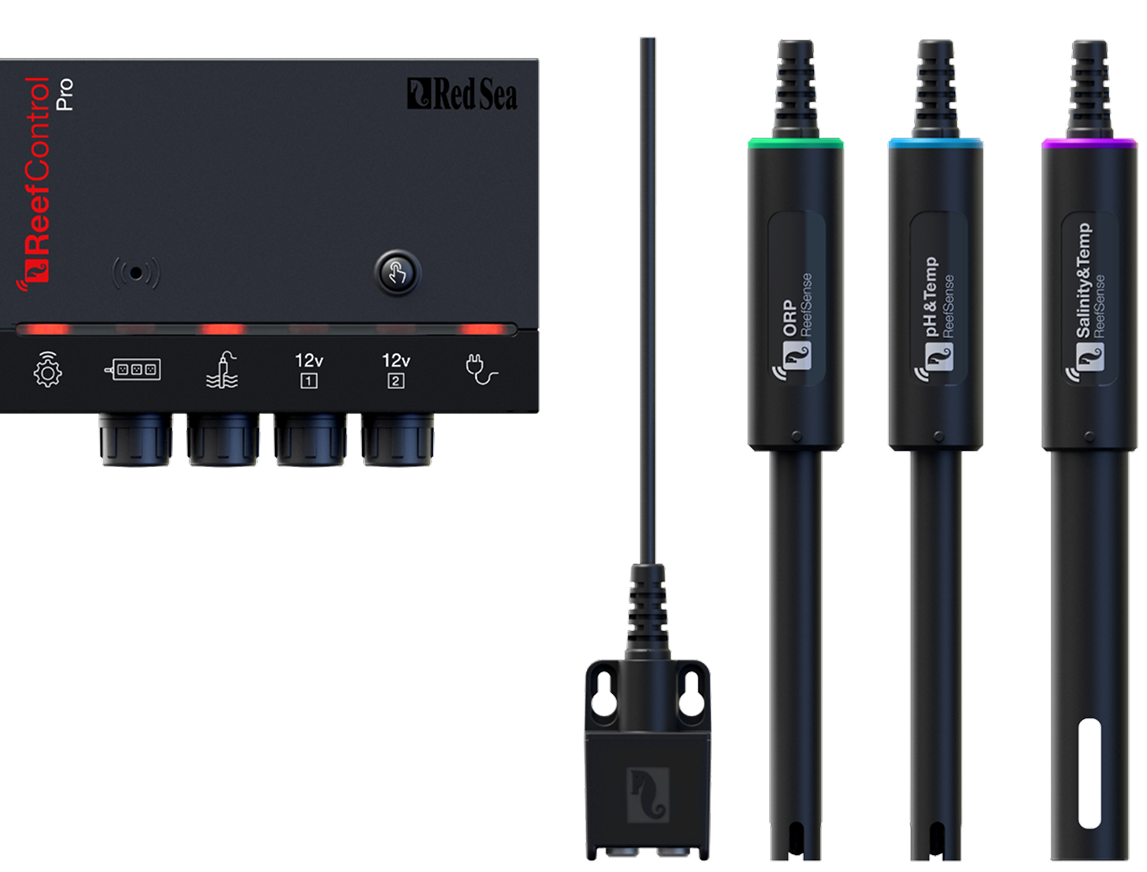 |
– | 📆 🐛 | |
| RSCONTROLLITE | 🧪 | 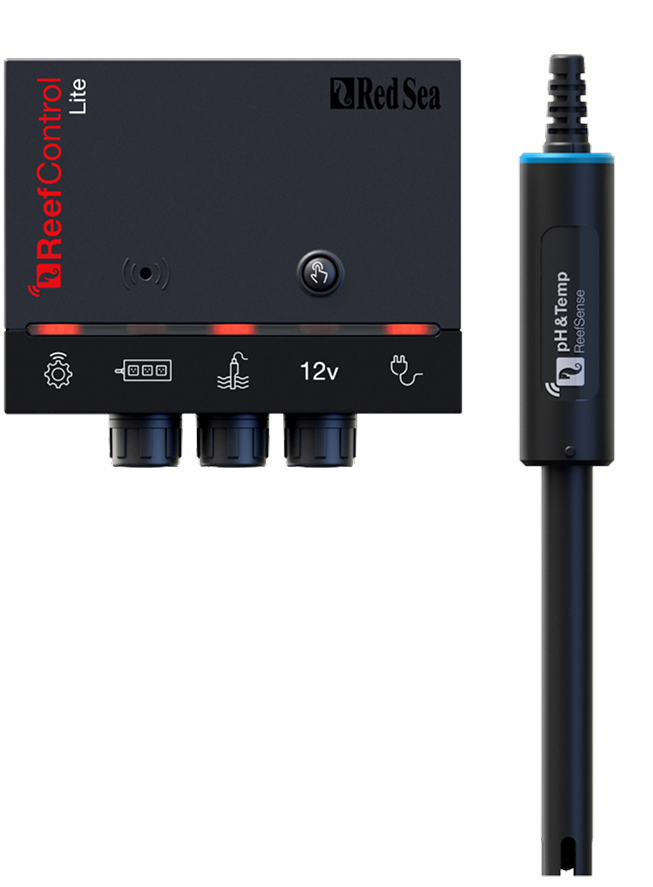 |
||||
| ReefControl-Power | RSPOWER6 | ✅ | 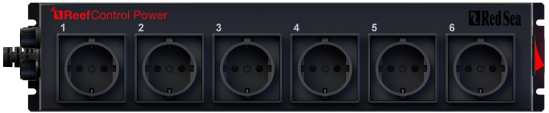 |
– | 📆 🐛 | |
| RSPOWER8 | 🧪 | 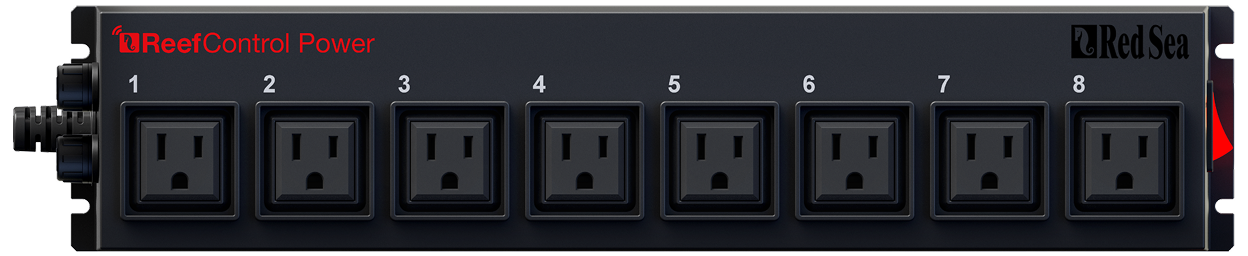 |
||||
| ReefDose | RSDOSE2 | ✅ | 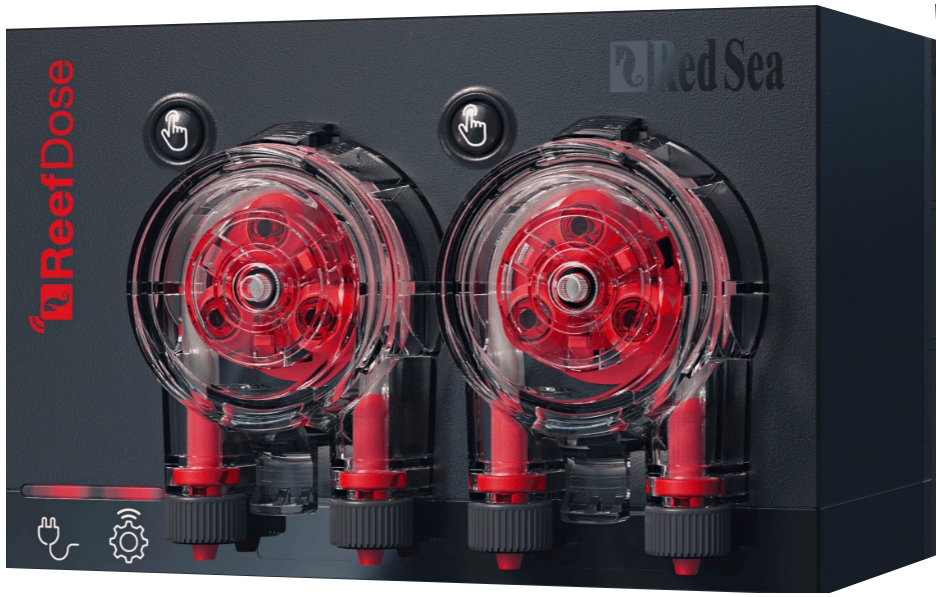 |
– | 📆 🐛 | |
| RSDOSE4 | ✅ | 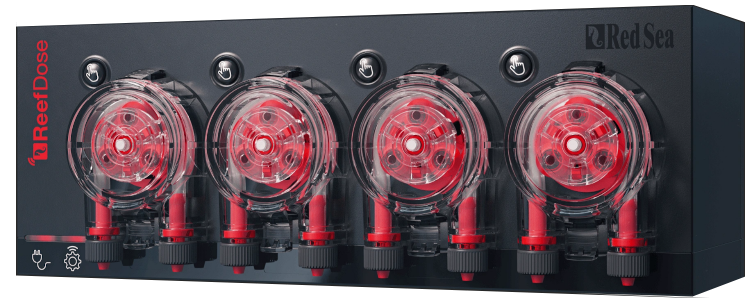 |
||||
| ReefLed | G1 | RSLED50 | ✅ | 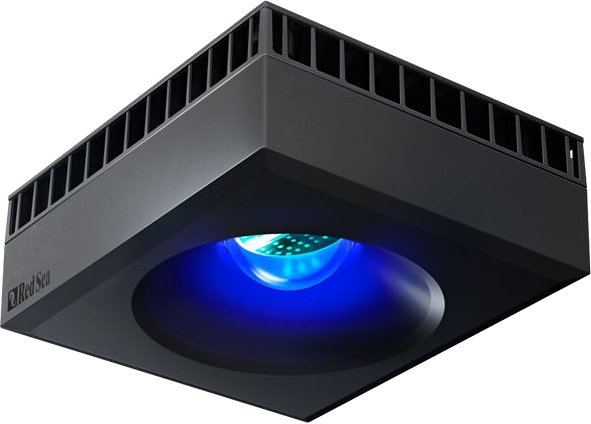 |
– | 📆 🐛 |
| RSLED90 | ✅ | |||||
| RSLED160 | ✅ | |||||
| G2 | RSLED60 | ✅ | 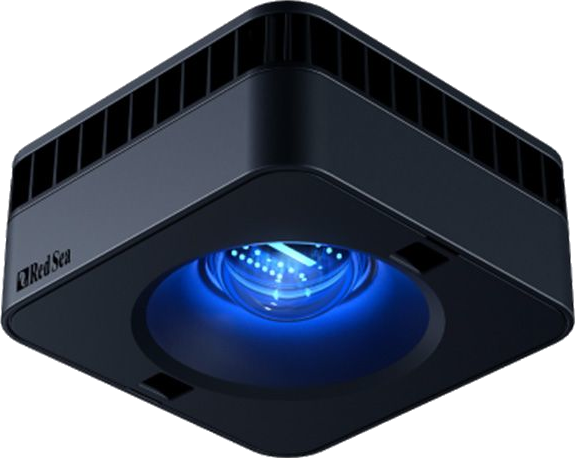 |
|||
| RSLED115 | ✅ | |||||
| RSLED170 | 🧪 | |||||
| ReefMat | RSMAT250 | ✅ | 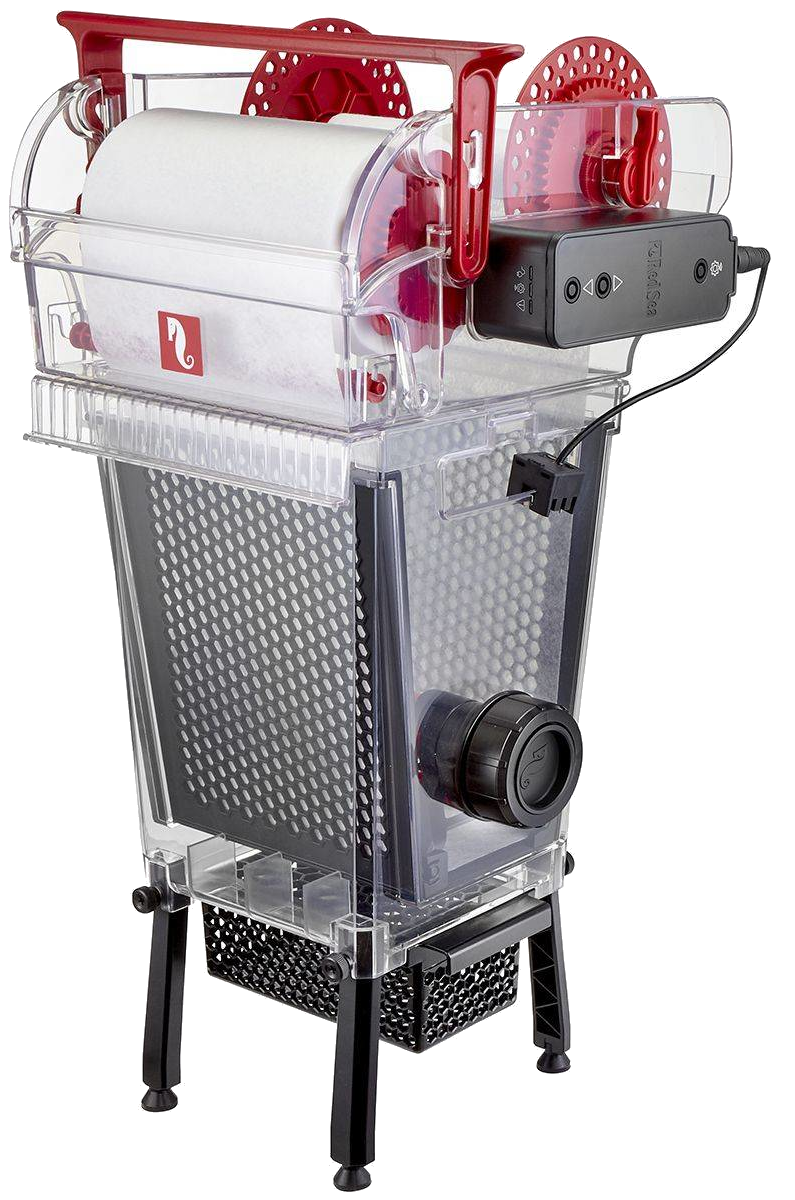 |
– | 📆 🐛 | |
| RSMAT500 | ✅ | |||||
| RSMAT1200 | ✅ | |||||
| ReefRun & DC Skimmer | RSRUN | ✅ | 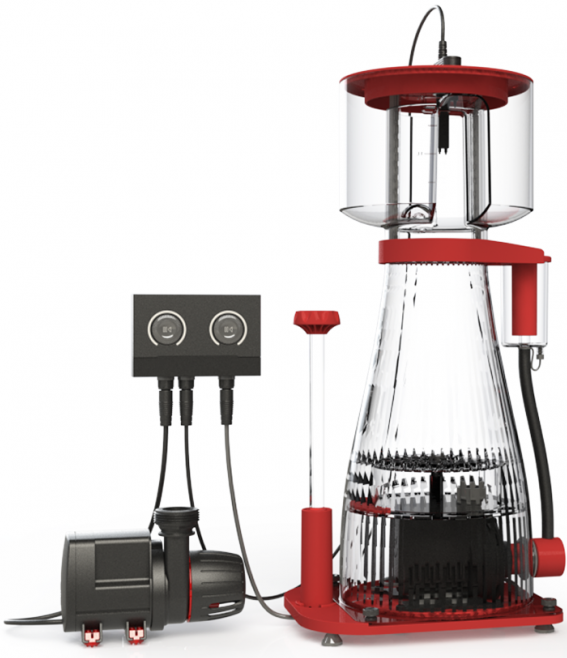 |
✅ | 📆 🐛 | |
| ReefWave (*) | RSWAVE25 | ✅ | 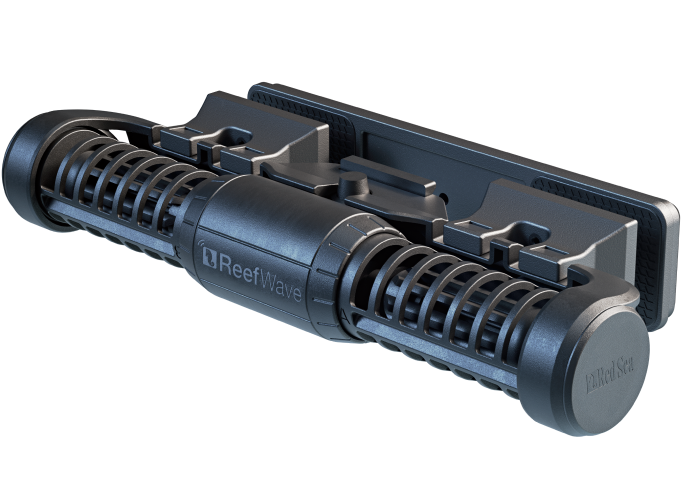 |
✅ | 📆 🐛 | |
| RSWAVE45 | ✅ | |||||
(*) ReefWave users, please read this
- Installation via HACS
- Common functions
- ReefATO+
- ReefControl
- ReefControl-Power
- ReefDose
- ReefLED
- Virtual LED
- ReefMat
- ReefRun
- ReefWave
- Maintenance
- Cloud API
- FAQ
Just click here to directly go to the repository in HACS and click "Download":

For the companion card ha-reef-card offering advanced and ergonomic features, click here to directly go to the repository in HACS and click "Download":
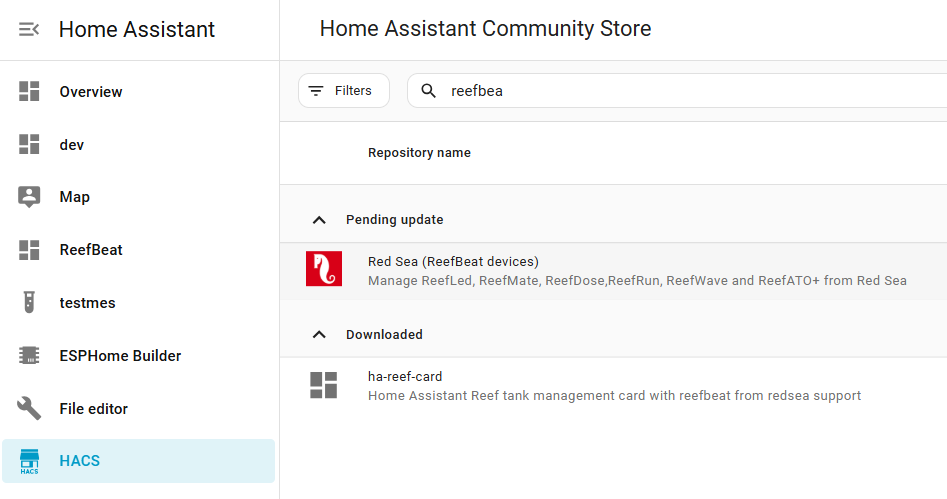
Or search for "redsea" or "reefbeat" in HACS.
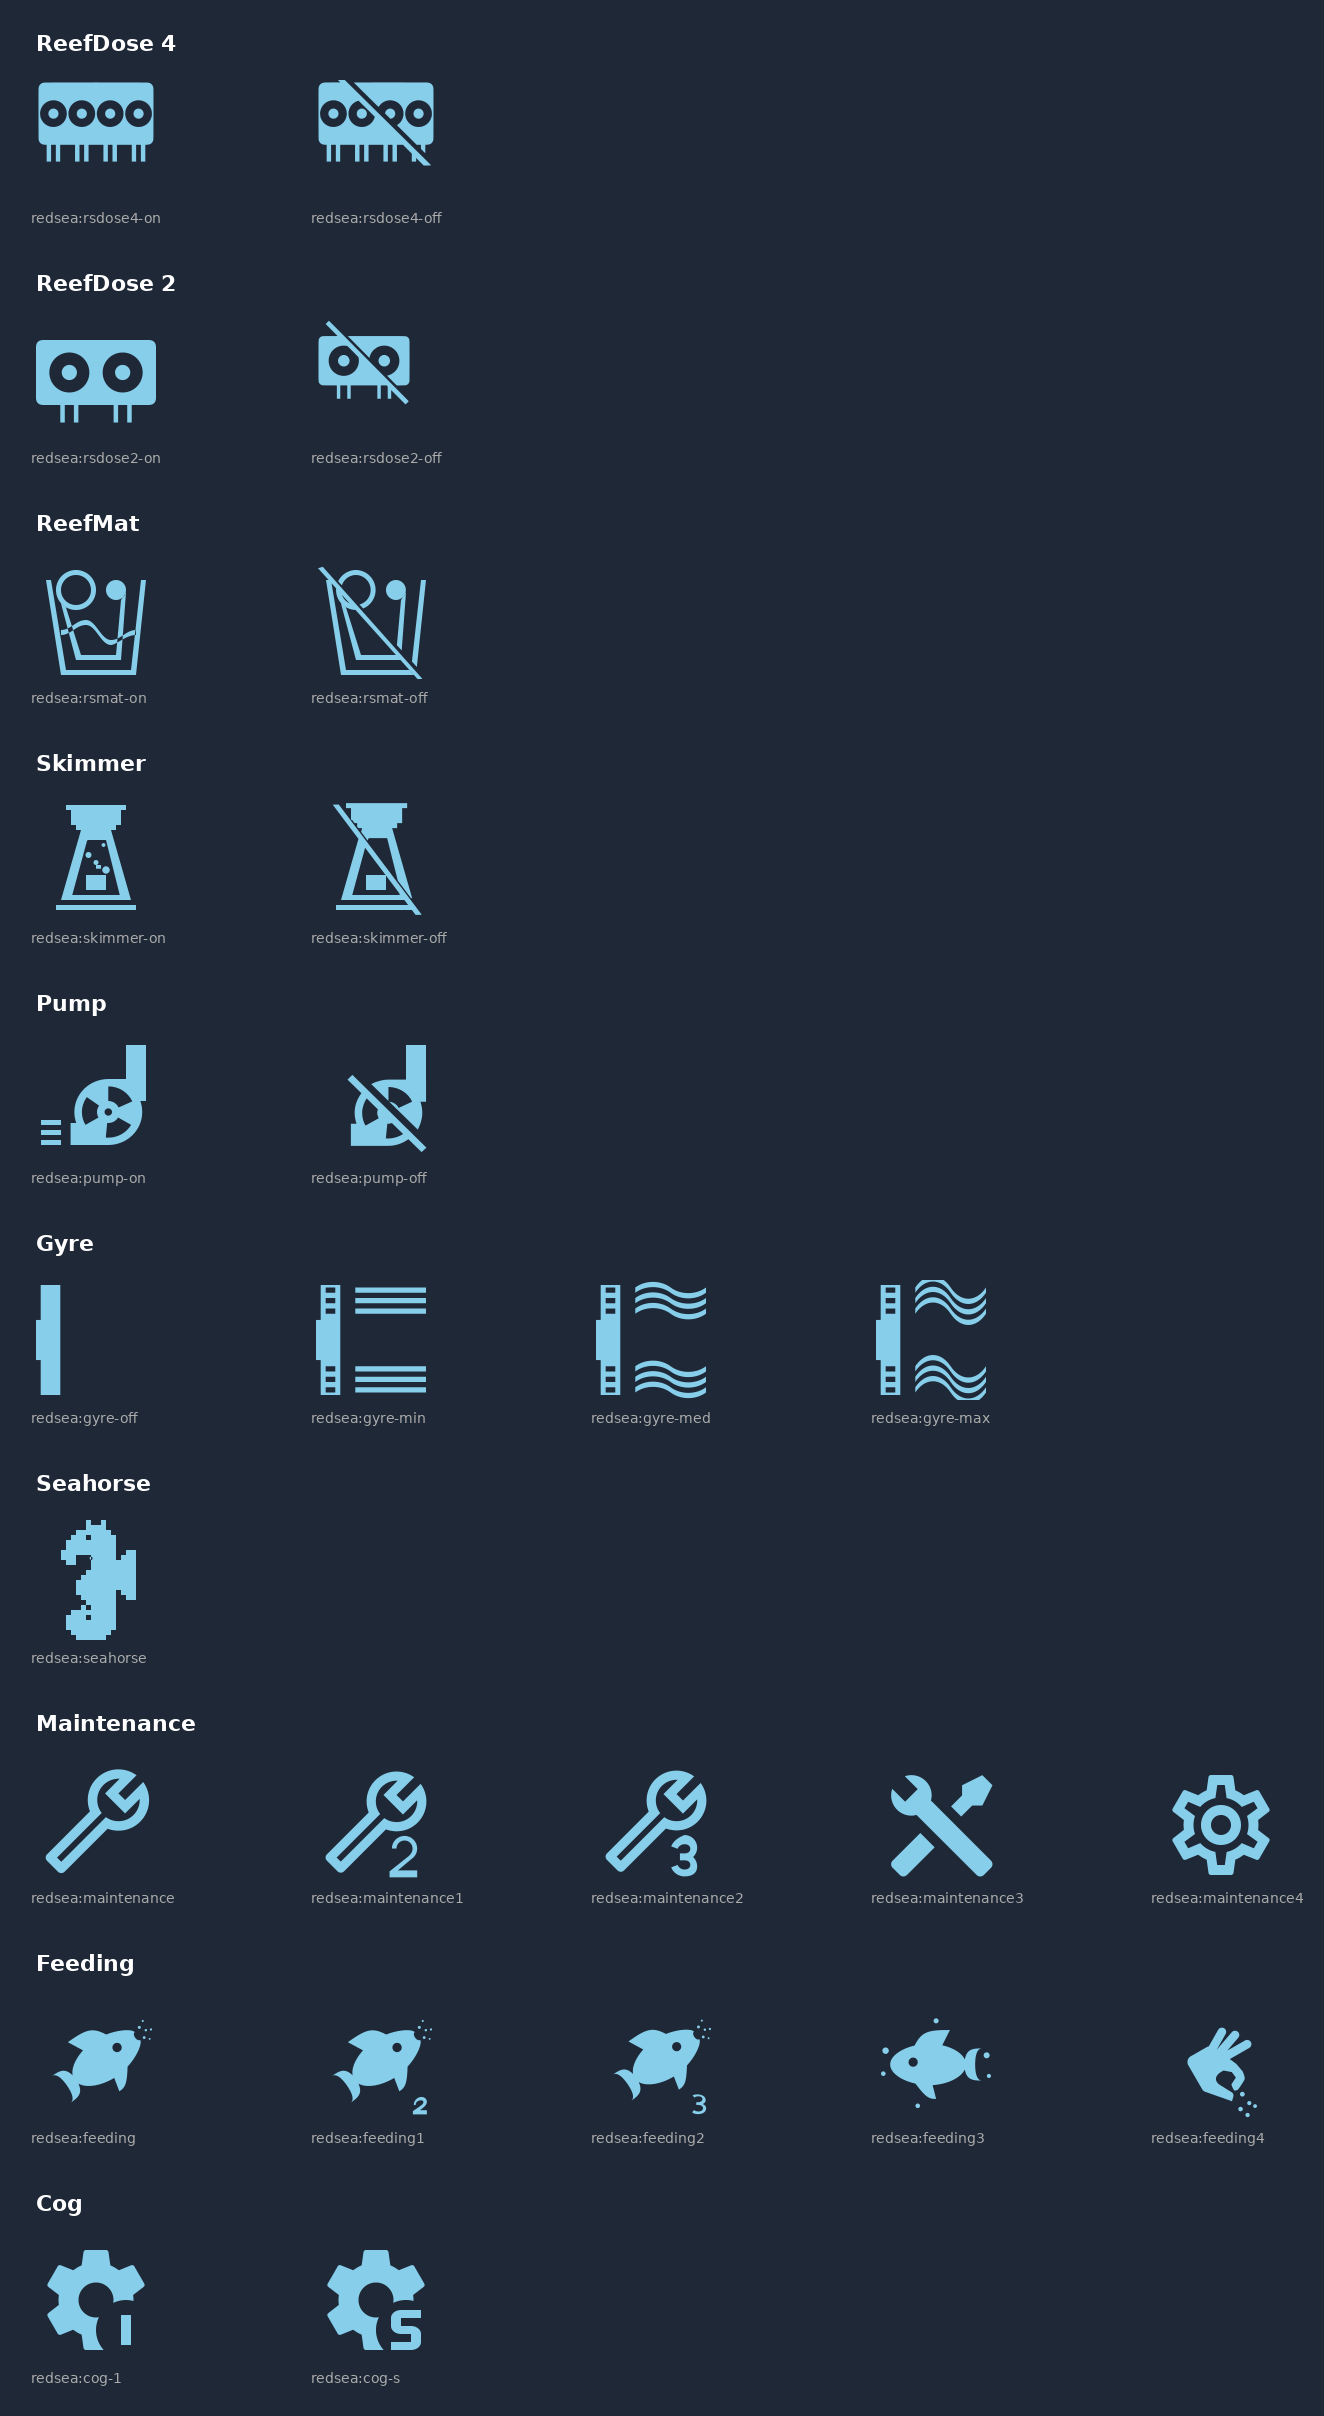
This integration provides custom icons accessible via "redsea:icon-name":
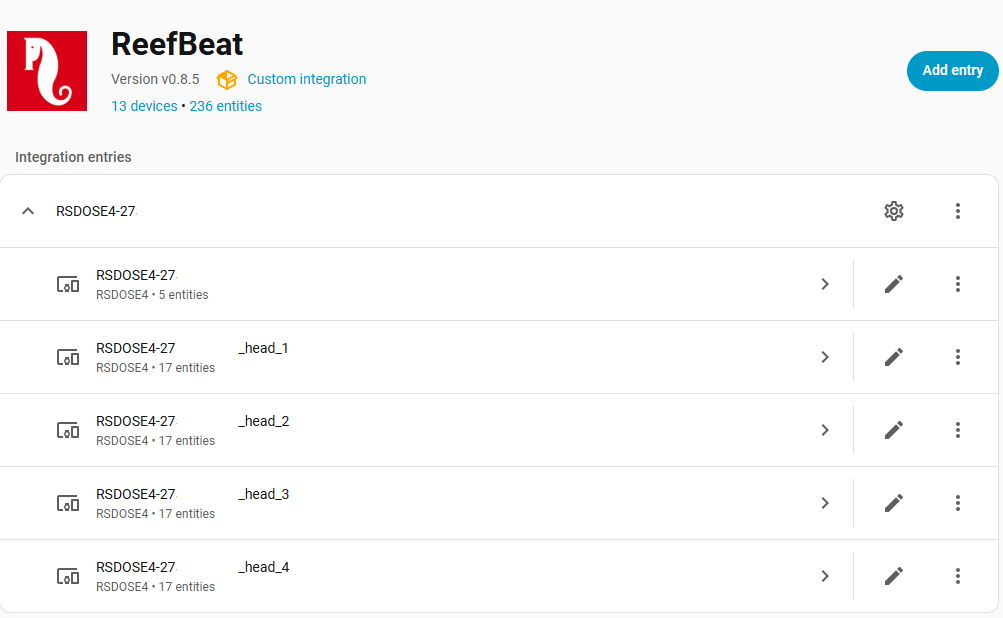
When adding a new device you have 4 choices:
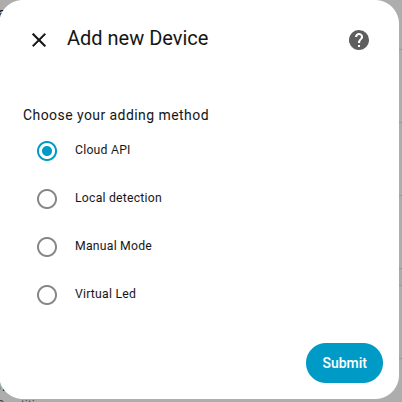
Mandatory for ReefWave if you want to keep it synchronized with the ReefBeat Mobile App (Read this).
Mandatory to be notified of a new firmware version (Read this).
- Get user information
- Get aquariums
- Get Waves library
- Get LED library
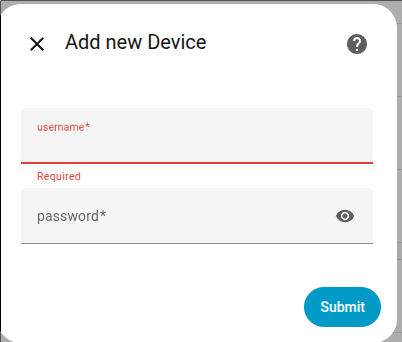
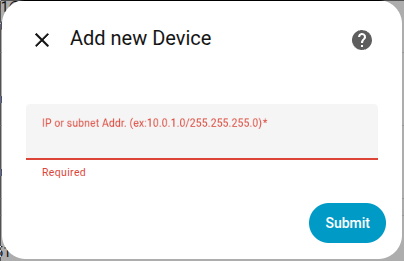
If not on the same network, read this and use "Manual Mode".
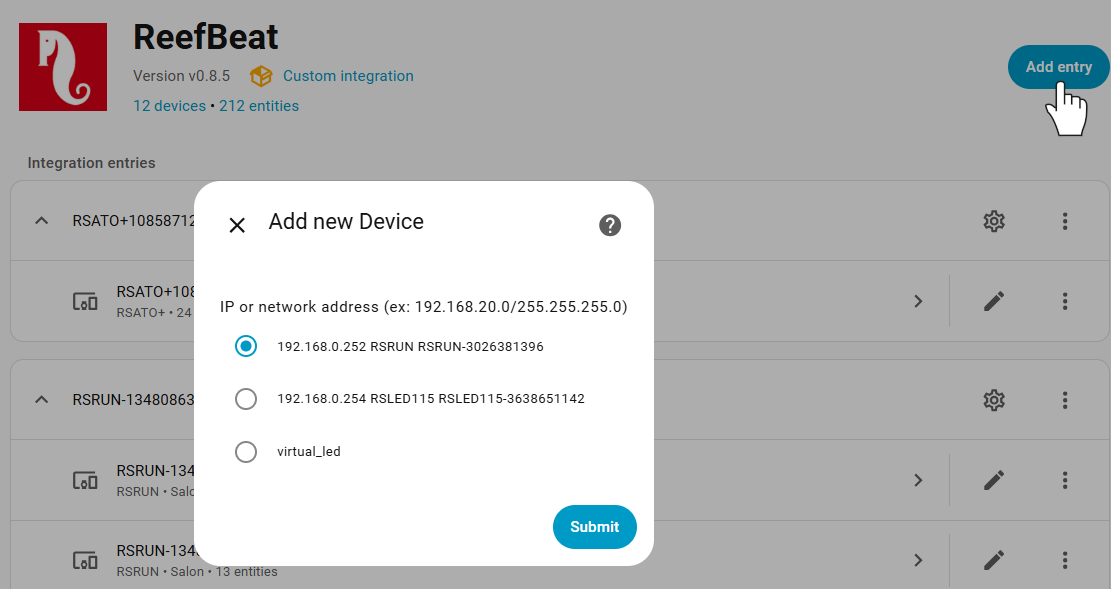
You can enter your device IP address or the network address for auto-detection.
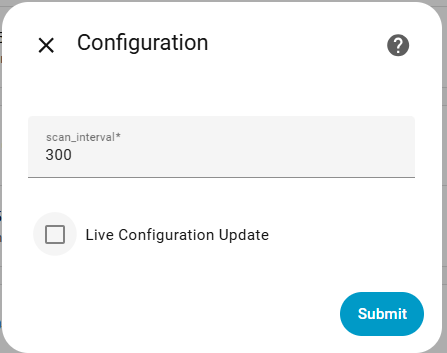
Right-click a device (or open its options from the integration page) to reach its configuration. The first screen lets you change how the integration talks to the device.

Set how often (in seconds) the integration polls the device for new data.
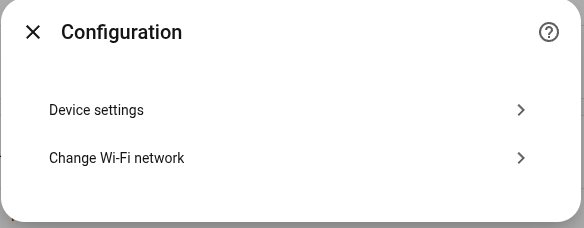
You can move a device to another WiFi network directly from Home Assistant, without going back to the ReefBeat app.
From the device configuration menu, choose Change WiFi network. The integration asks the device to scan for nearby networks and shows them in a drop-down, sorted by signal strength. The network the device is currently connected to is pre-selected, so if you only need to update the password you can leave the selection as-is.
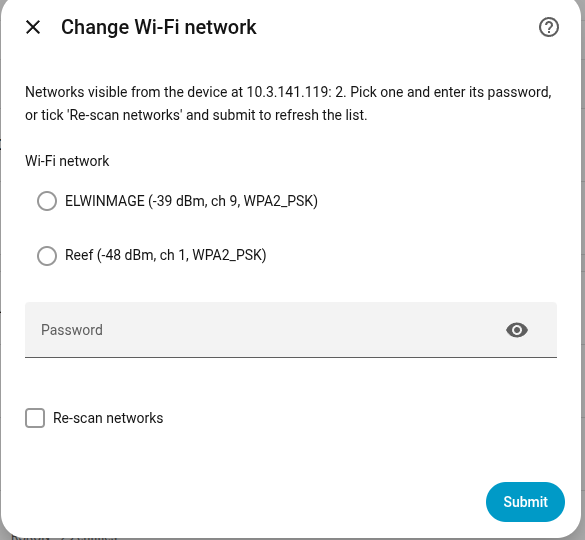
Pick the target network, enter its password, and submit. The integration sends the new credentials to the device, reboots it, and then automatically looks for it again on the network to update its IP address.
Note
After a WiFi change the device may join a different subnet (for example moving from 192.168.0.x to 10.0.0.x). The integration scans every subnet Home Assistant is directly connected to. If the device lands on a subnet that Home Assistant can only reach through a router, rediscovery will fail and you will be asked to enter the target subnet manually (for example 10.0.0.0/24).
Note
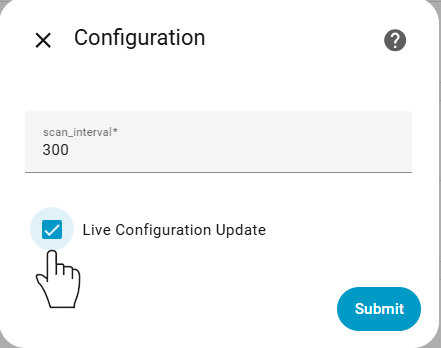
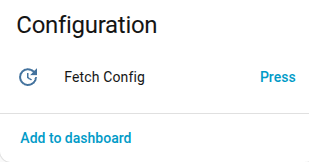
It is possible to choose whether to enable live_update_config or not. In this mode (old default), configuration data is continuously retrieved along with normal data. For RSDOSE or RSLED, these large HTTP requests can take a long time (7–9 seconds). Sometimes the device does not respond to the request, so a retry function has been implemented. When live_update_config is disabled, configuration data is only retrieved at startup and when requested via the "Fetch Configuration" button. This new mode is activated by default. You can change it in the device configuration.
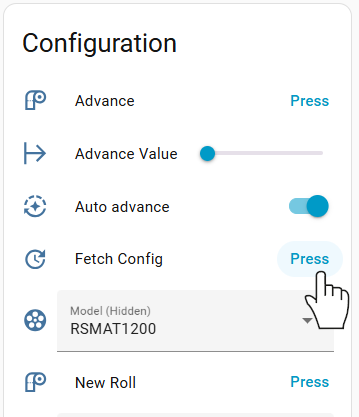
Note
Every device also exposes a "Fetch data" button. It forces an immediate read of the polled sources instead of waiting for the next scan interval, and works whatever the Live update config setting is — unlike "Fetch config", which only refreshes the configuration sources.
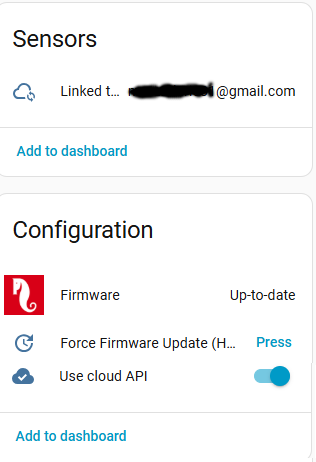
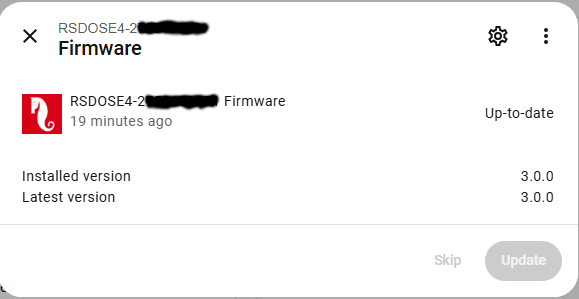
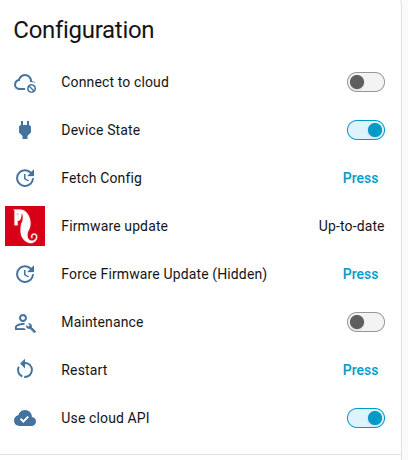
You can be notified and update your device when a new firmware version is available. You must have an active "Cloud API" device with your credentials and the "Use Cloud API" switch must be enabled.
Tip
The "Cloud API" is only needed to get the version number of the new release and compare it to the installed version. To update your firmware, the Cloud API is not strictly required. If you do not use the "Cloud API" (switch disabled or no Cloud API device installed), you will not be alerted when a new version is available, but you can still use the hidden "Force Firmware Update" button. If a new version is available, it will be installed.
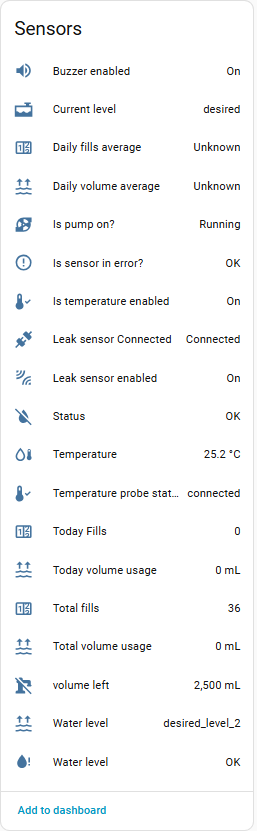
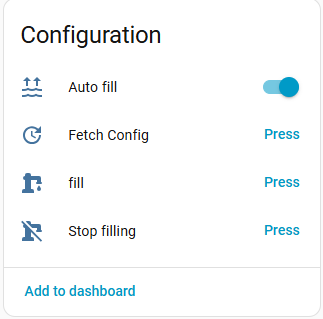
- Auto-fill enable/disable
- Manual fill
- Leak alarm buzzer enable/disable
| Task | Default | Range |
|---|---|---|
| Clean EC sensor | 6 weeks | 3 – 9 weeks |
| Clean return pump | 4.5 months | 2 – 7 months |
See the Maintenance section.
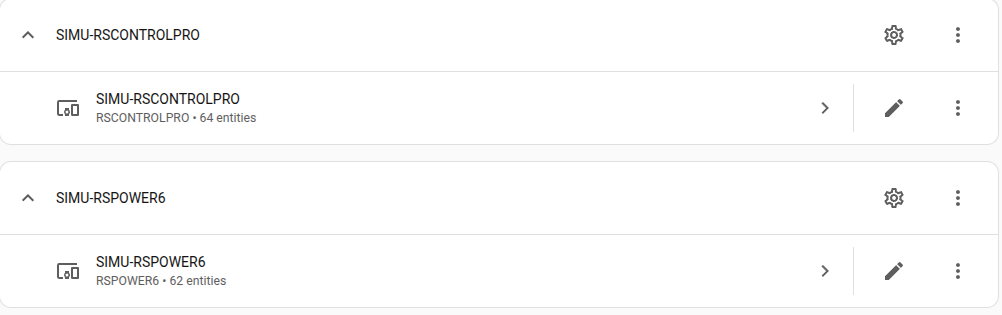
- Read all connected ReefSense probes (pH, ORP, salinity, temperature, ATO, leak) with value and quality level
- Buzzer and leak-detector state
- 12V DC port on/off toggle (RSCONTROL)
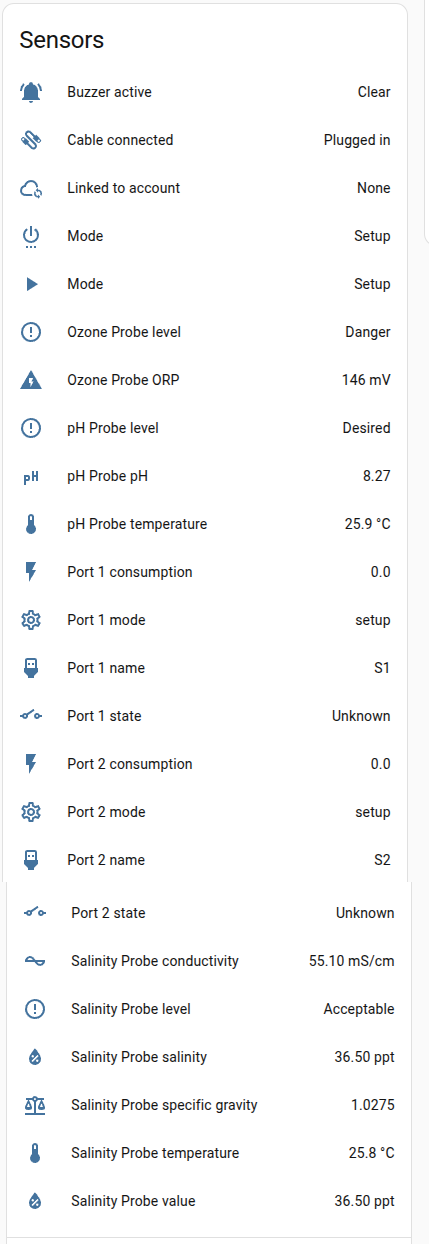
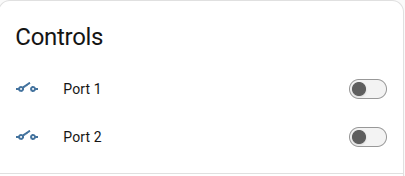
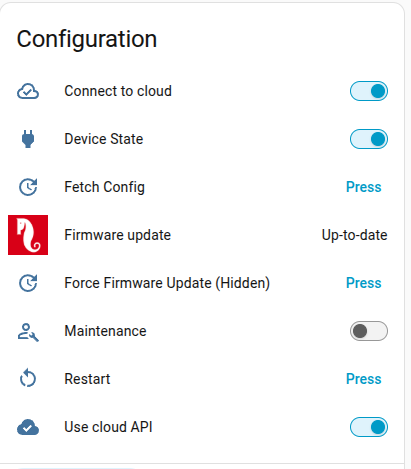
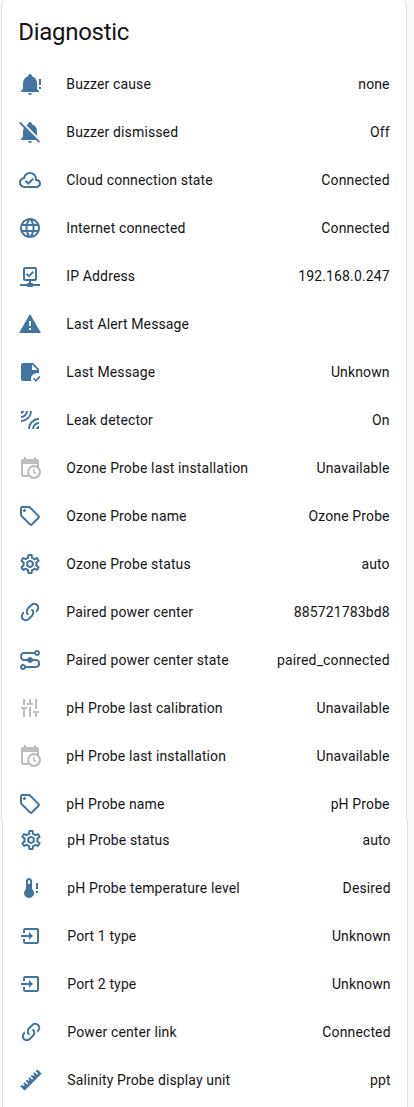
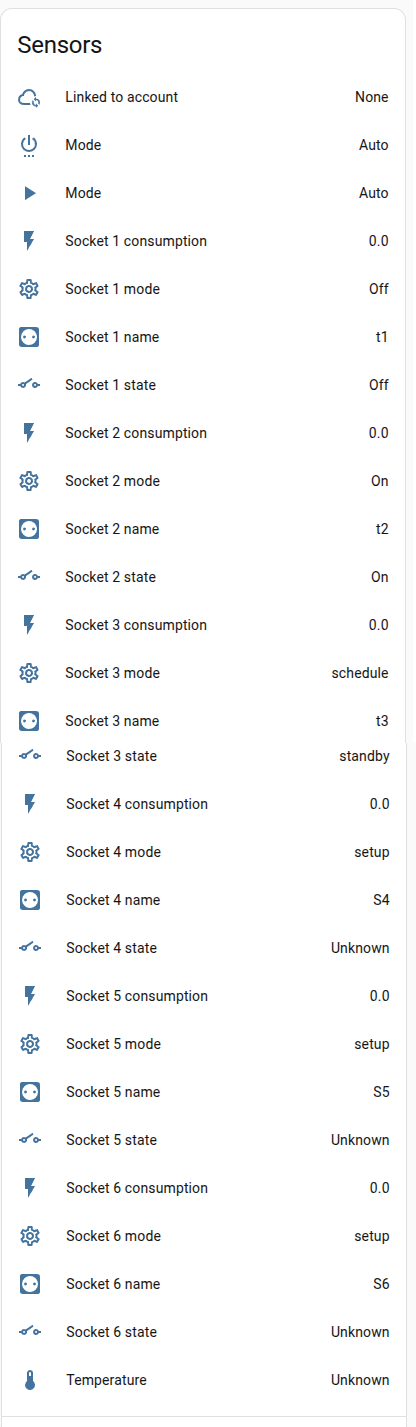
The RSPOWER (Power Center) is a standalone device with its own IP address, exposed separately in Home Assistant.
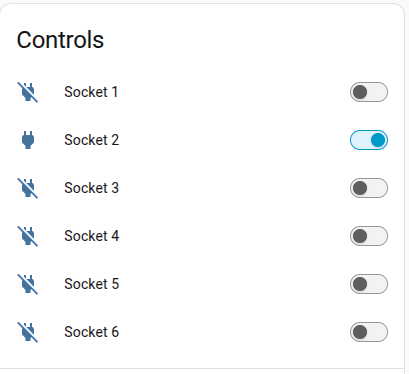
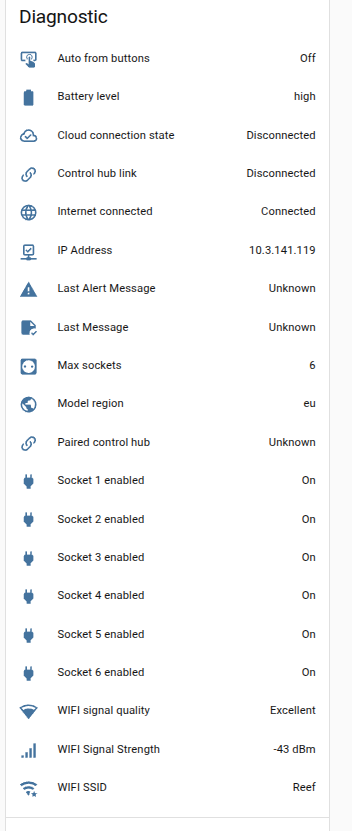
- Per-socket state, mode, consumption and on/off toggle
- 6 or 8 controllable sockets depending on the model (RSPOWER6 / RSPOWER8)
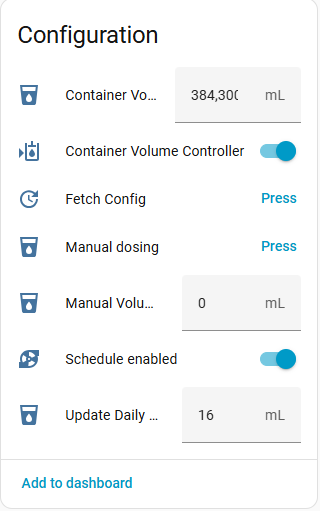
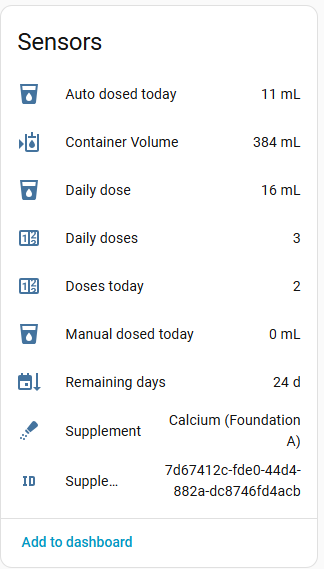
- Edit daily dose
- Manual dose
- Add and remove supplements
- Edit and control container volume. Container volume settings are automatically enabled or disabled according to the volume control switch.
- Enable/disable schedule per pump
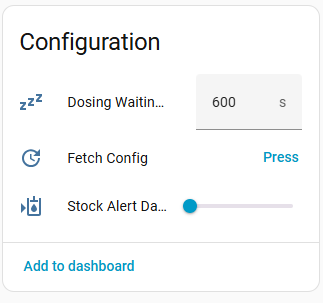
- Stock alert configuration
- Dosing delay between supplements
- Priming (Please read this)
- Calibration (Please read this)
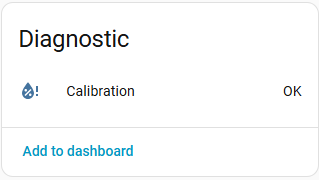
Caution
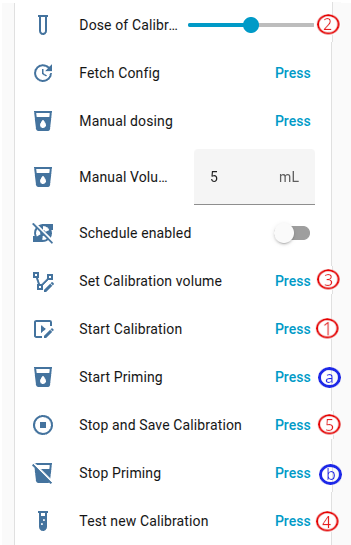
You must strictly follow the order below (Using the ha-reef-card is safer).
Calibration:
- Place the graduated container and press "Start Calibration"
- Enter the measured value using the "Dose of Calibration" field
- Press "Set Calibration Value"
- Empty the graduated container and press "Test new Calibration". If the value obtained is not 4 mL, go back to step 1.
- Press "Stop and Save Graduation"
For priming:
- (a) Press "Start Priming"
- (b) When the liquid flows out, press "Stop Priming"
- (1) Place the graduated container and press "Start Calibration"
- (2) Enter the measured value using the "Dose of Calibration" field
- (3) Press "Set Calibration Value"
- (4) Empty the graduated container and press "Test new Calibration". If the value obtained is not 4 mL, go back to step 1.
- (5) Press "Stop and Save Graduation"
| Task | Level | Default | Range |
|---|---|---|---|
| Calibrate dosing heads | Device | 90 days | 80 – 120 days |
| Replace dosing heads & tubes | Per head | 15 months | 11 – 19 months |
The replacement task is tracked per head, so replacing head 2 does not reset the countdown of the other three. See the Maintenance section.
- Get and Set White and Blue channels (only for G1: RSLED50, RSLED90, RSLED160)
- Get and Set Color Temperature, Intensity and Moon (all LEDs)
- Manage acclimation. Acclimation settings are automatically enabled or disabled according to the acclimation switch.
- Manage moon phase. Moon phase settings are automatically enabled or disabled according to the moon phase switch.
- Set Manual Color Mode with or without duration.
- Get Fan and Temperature values.
- Get name and value for programs (with cloud support). Only for G1 LEDs.
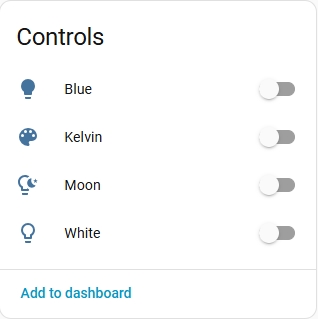
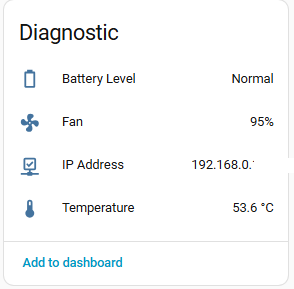
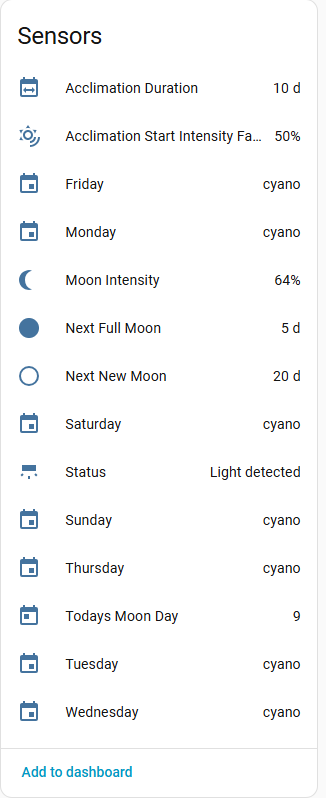
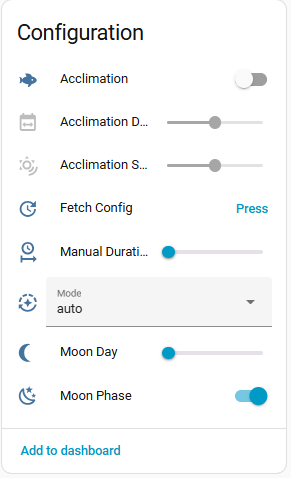
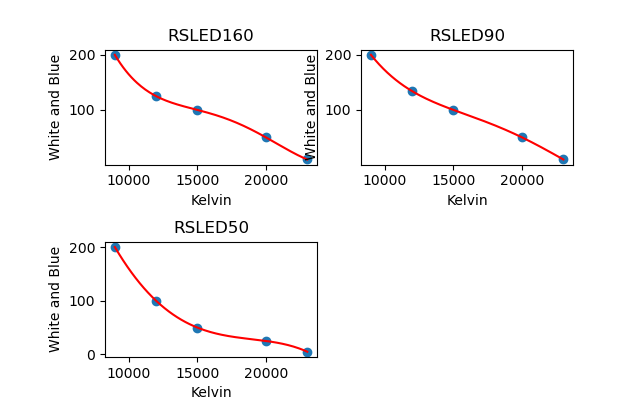
Color Temperature support for G1 LEDs takes into account the specificities of each of the three models.
Because G2 LEDs ensure constant intensity across the entire color range, your LEDs do not utilize their full capacity in the middle of the spectrum. At 8,000K, the white channel is at 100% and the blue channel at 0% (the opposite at 23,000K). At 14,000K with 100% intensity for G2 lights, the power of the white and blue channels is approximately 85%. Here is the loss curve for the G2s.
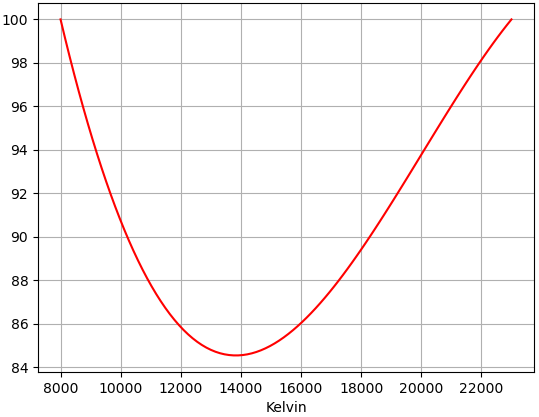
The G2 interface does not support the entire temperature range. From 8,000K to 10,000K, values are incremented in 200K steps, and from 10,000K to 23,000K in 500K steps. This behavior is handled automatically: if you choose an invalid value (e.g. 8,300K), a valid value will be automatically selected (8,200K in this example). This is why you may sometimes observe a slight cursor adjustment when selecting the color on a G2 light — the cursor repositions itself to an allowed value.
G1 LEDs use white and blue channel control, which allows full power across the entire range, but not constant intensity without compensation. That is why intensity compensation has been implemented. This compensation ensures you get the same PAR (light intensity) regardless of your color temperature choice (in the range 12,000 to 23,000K).
Note
Because Red Sea does not publish PAR values below 12,000K, compensation is only available in the 12,000 to 23,000K range. If you have a G1 LED and a PAR meter, you can contact me to add compensation for the full range (9,000 to 23,000K).
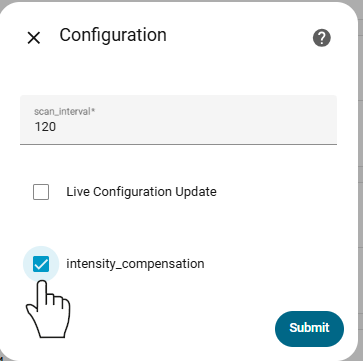
In other words, without compensation, an intensity of x% at 9,000K does not provide the same PAR as at 23,000K or 15,000K.
Here are the power curves:
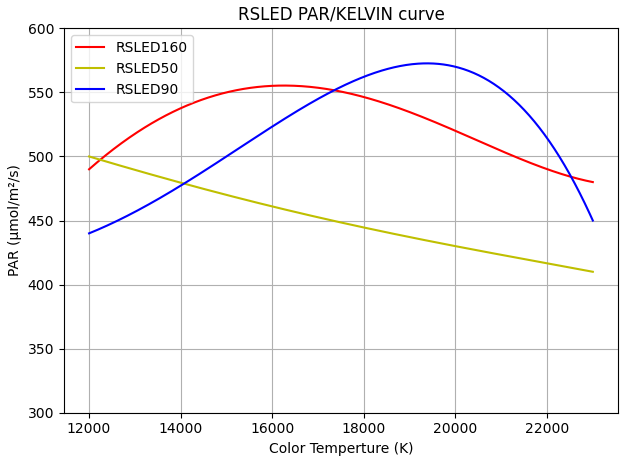
If you want to use the full power of your LED, disable intensity compensation (default).
If you enable intensity compensation, the light intensity will be constant across all color temperature values, but in the middle of the range you will not use the full capacity of your LEDs (as with G2 models).
Also note that if compensation is enabled, the intensity factor can exceed 100% for G1 lights if you manually adjust the White/Blue channels. This allows you to harness the full power of your LEDs!
| Task | Default | Range |
|---|---|---|
| Clean lens | 3 weeks | 1 – 5 weeks |
| Dust the fan and grilles | 6 months | 5 – 7 months |
The same two tasks are created for every ReefLED generation, including the virtual LED. See the Maintenance section.
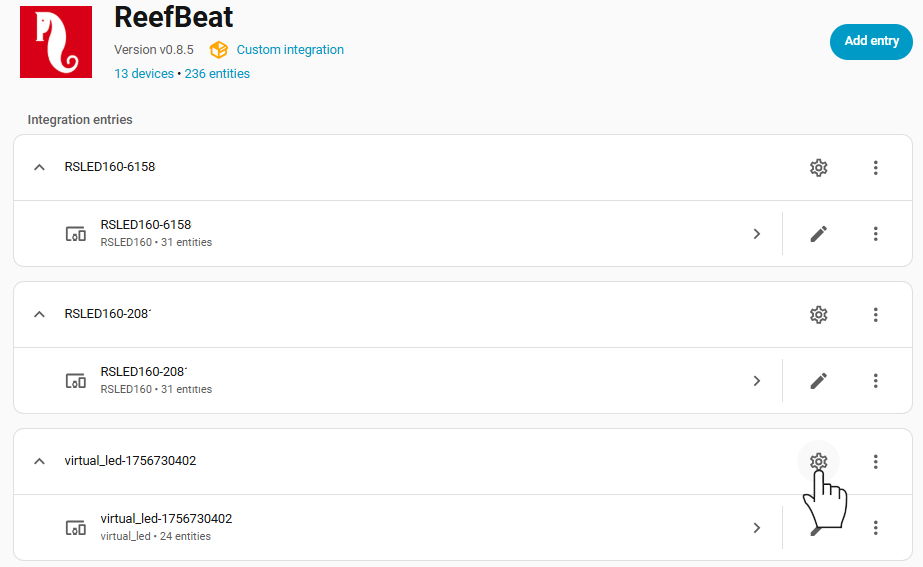
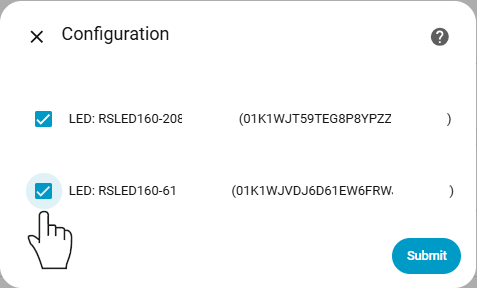
- Group and manage LEDs with a virtual device (create a virtual device from the integration panel, then use the configure button to link the LEDs).
- You can only use Kelvin and intensity to control your LEDs if you have G2 or a mix of G1 and G2.
- You can use both Kelvin/Intensity and White & Blue if you have only G1 lights.
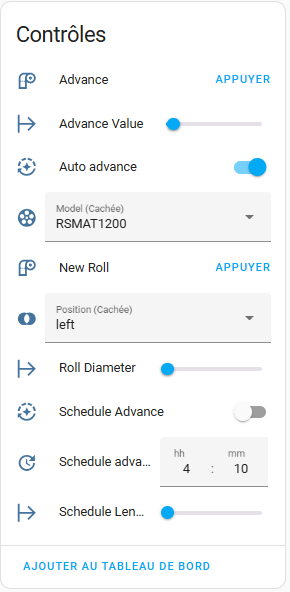
- Auto advance switch (enable/disable)
- Schedule advance
- Custom advance value: lets you select the value of the roll advance
- Manual advance
- Change the roll.
Tip
For a new full roll, please set "roll diameter" to the minimum (4.0 cm). The size will be adjusted according to your RSMAT version. For a partially used roll, enter the value in cm.
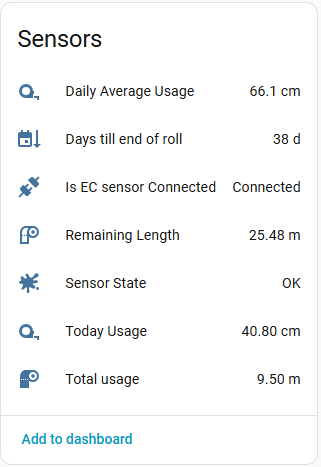
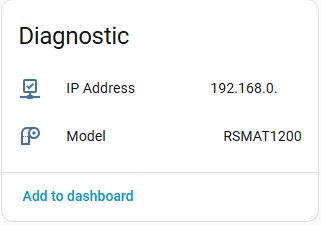
- Two hidden parameters: model and position, if you need to reconfigure your RSMAT
| Task | Default | Range |
|---|---|---|
| Replace activated carbon | 25 days | 2 – 5 weeks |
See the Maintenance section.
- Set pump speed
- Manage overskimming
- Manage full cup detection
- Can change skimmer model
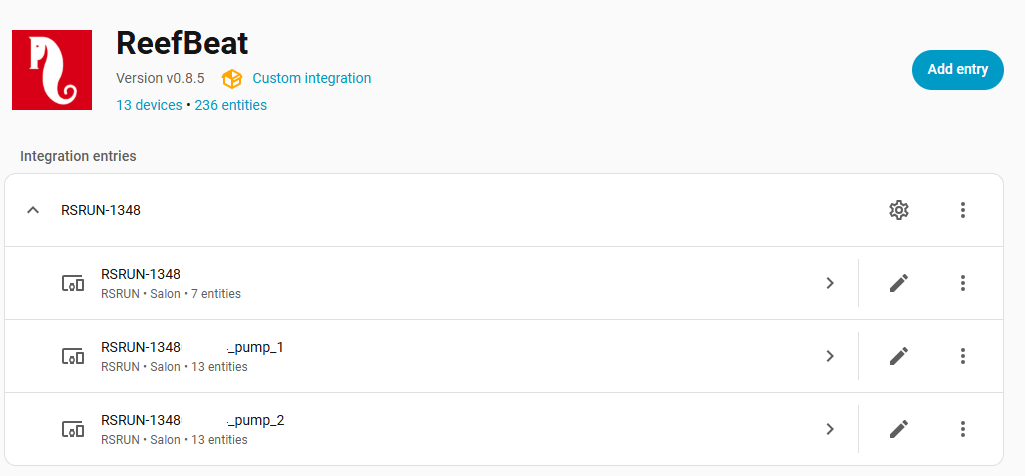
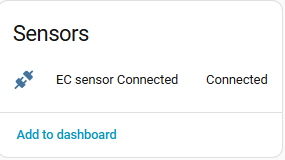
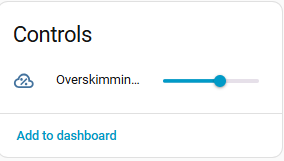
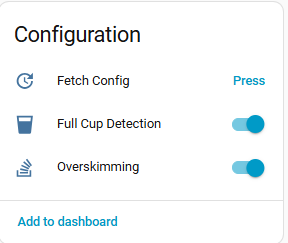
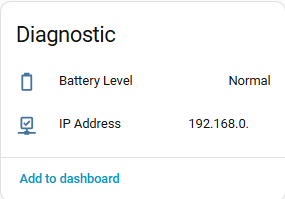
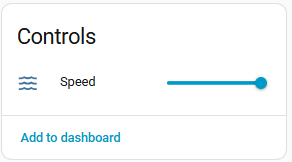
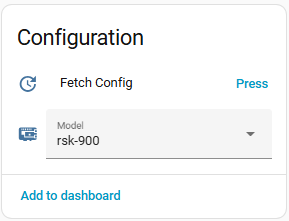
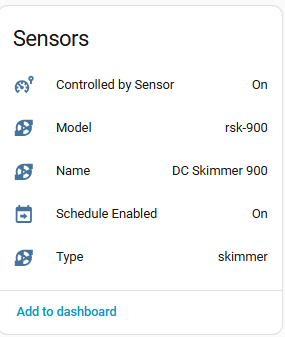
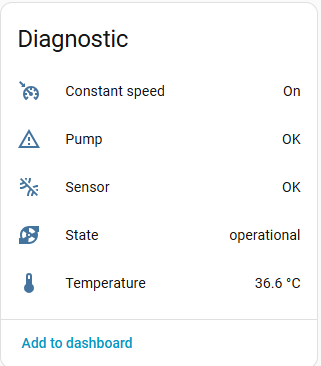
Tasks are attached to the pump sub-device and depend on its type.
| Task | Pump | Default | Range |
|---|---|---|---|
| Clean motor and rotor | Return | 4.5 months | 2 – 7 months |
| Clean intake strainer | Return | 6 weeks | 3 – 9 weeks |
| Clean venturi & air tube | Skimmer | 5 weeks | 3 – 7 weeks |
| Clean skimmer pump rotor | Skimmer | 4.5 months | 2 – 7 months |
| Calibrate fullcup sensor | Skimmer | 4 weeks | 2 – 6 weeks |
| Calibrate overskimming sensor | Skimmer | 4 weeks | 2 – 6 weeks |
The two calibration tasks are also watched by the alert blueprint, which compares the last calibration date reported by the device with the interval you set here. See the Maintenance section.
The Clean skimmer pump rotor task above means unscrewing the pump body, which offers almost nothing to grip once wet. A 3D-printable tool for that job, with a video showing how it is used, is available here: Red Sea DC Skimmer impeller tool.
Important
ReefWave devices are different from other ReefBeat devices. They are the only devices that are slaves to the ReefBeat cloud.
When you launch the ReefBeat mobile app, the status of all devices is queried and data from the ReefBeat app is retrieved from device state.
For ReefWave, it is the opposite: there is no local control point (as you can see in the ReefBeat app, you cannot add a ReefWave to a disconnected aquarium).
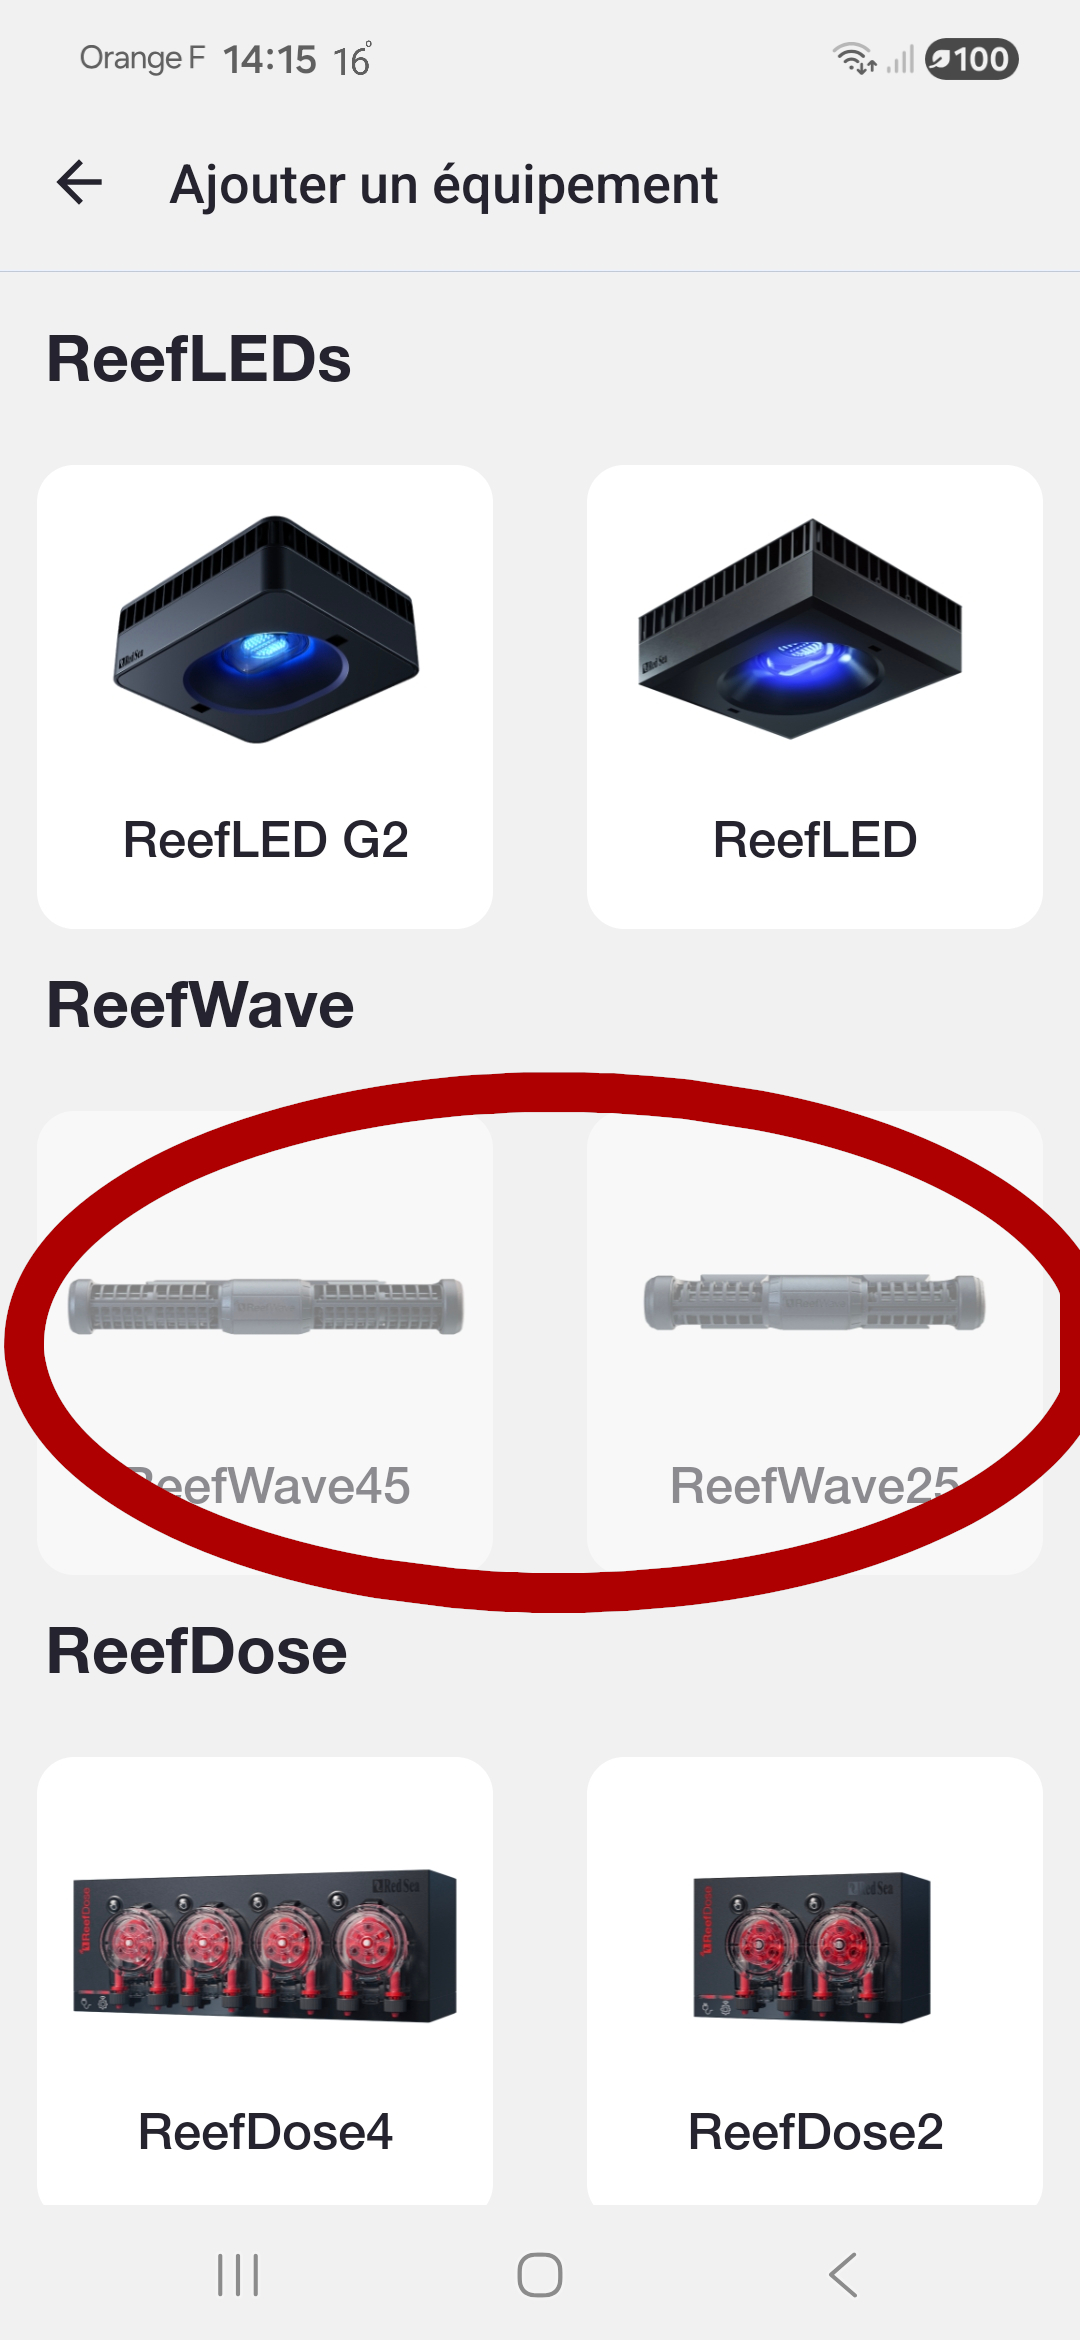
Waves are stored in the cloud user library. When you change a wave's value, it is changed in the cloud library and applied to the new schedule.
So there is no local mode? Not so simple. There is a hidden local API to control ReefWave, but the ReefBeat app will not detect the changes. As a result, the device and Home Assistant on one side, and the ReefBeat mobile app on the other, will be out of sync. The device and Home Assistant will always be synchronized.
Now that you know, make your choice!
Note
ReefWave waves have many linked parameters, and the range of some parameters depends on other parameters. I was not able to test all possible combinations. If you find a bug, you can create an issue here.
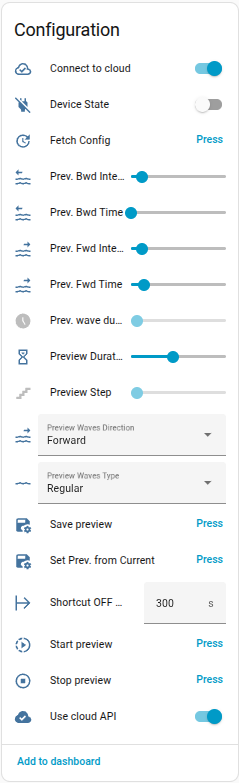
As explained above, ReefWave devices are the only devices that can become unsynchronized with the ReefBeat app if you use the local API. Three modes are available: Cloud, Local, and Hybrid. You can change the mode by setting the "Connect To Cloud" and "Use Cloud API" switches as described in the table below.
| Mode name | Connect To Cloud Switch | Use Cloud API Switch | Behavior | ReefBeat and HA are synchronized |
| Cloud (Default) | ✅ | ✅ | Data is fetched via the local API. On/off commands are also sent via the local API. Wave commands are sent via the cloud API. |
✅ |
| Local | ❌ | ❌ | Data is fetched via the local API. Commands are sent via the local API. Device is shown as "off" in the ReefBeat app. |
❌ |
| Hybrid | ✅ | ❌ | Data is fetched via the local API. Commands are sent via the local API. The ReefBeat mobile app does not display the correct wave values if they have been changed via HA. Home Assistant always displays the correct values. You can change values from both the ReefBeat app and Home Assistant. |
❌ |
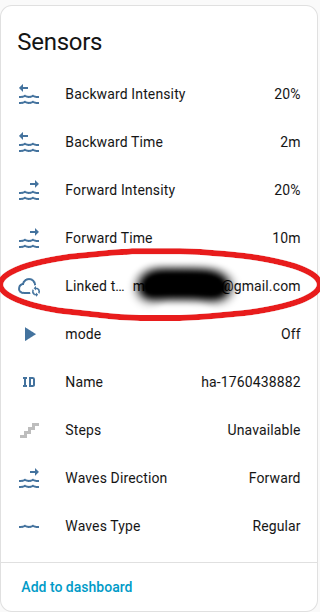
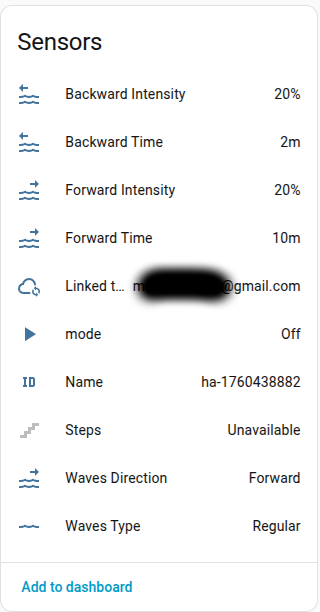
For Cloud and Hybrid modes you must link your ReefBeat cloud account. First create a "Cloud API" device with your credentials, and that's it! The "Linked to account" sensor will be updated with the name of your ReefBeat account once the connection is established.
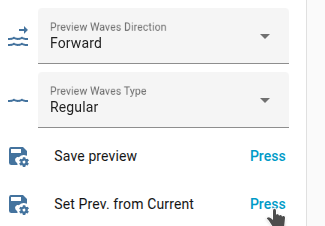
To load current wave values into the preview fields, use the "Set Preview From Current Wave" button.
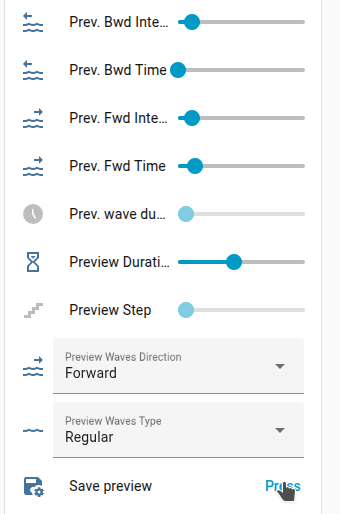
The behavior is the same as the ReefBeat mobile app. All waves with the same ID in the current schedule will be updated.
| Task | Default | Range |
|---|---|---|
| Clean rotor cages | 2 months | 1 – 3 months |
See the Maintenance section.
Beyond driving the hardware, the integration keeps track of the recurring maintenance tasks of your equipment: cleaning a skimmer venturi, replacing dosing tubes, changing the ReefMat activated carbon, and so on. Home Assistant does the remembering, so you no longer have to.
Tasks are attached to the device they belong to, and to the sub-device when that is more precise: a ReefDose head, a ReefRun pump. A ReefRun exposes the return-pump tasks on pump 1 and the skimmer tasks on pump 2, never the other way round: the task list follows the pump type reported by the device.
Every task creates three entities, all under the Configuration and Diagnostic categories so they stay out of your main dashboard:
| Entity | Role |
|---|---|
button.<device>_<task> |
Task done. Pressing it stamps the current date as the last time you performed the task, and restarts the countdown. |
number.<device>_<task>_interval_<unit> |
Interval. How often the task should be repeated, in days, weeks or months depending on the task. |
switch.<device>_<task>_notify |
Notifications. Mutes the overdue alert for this single task without touching its schedule. |
The button is the entity that carries the state. Everything derived is exposed as attributes, so one entity is enough to build a dashboard or an automation:
| Attribute | Meaning |
|---|---|
last_reset |
ISO-8601 date of the last press, or null if never done |
interval_days |
Current interval, always normalized in days |
days_left |
Days remaining, negative once overdue |
overdue |
true once days_left is negative |
reef_role |
maint_<task_key>, the stable marker used to discover tasks |
Tip
reef_role is what makes the whole thing extensible: the card and the alert
blueprint discover tasks by scanning for this attribute. A task added to a
future release of the integration appears in both without any update on their
side.
Default intervals follow Red Sea's own recommendations, taking the median of
the published range. Each task also defines a minimum and a maximum, enforced by
the number entity: you can adapt an interval to your tank load, but not set an
absurd value.
Intervals are shown in the unit that makes sense for the task (weeks for a venturi, months for a rotor) and stored in days internally, so switching units never loses precision.
Dates and intervals are stored by Home Assistant in
.storage/redsea_maintenance_<entry_id>, one file per config entry. They
survive restarts, integration reloads and device reboots, and are never sent
to the Red Sea cloud. Removing the config entry removes the file with it.
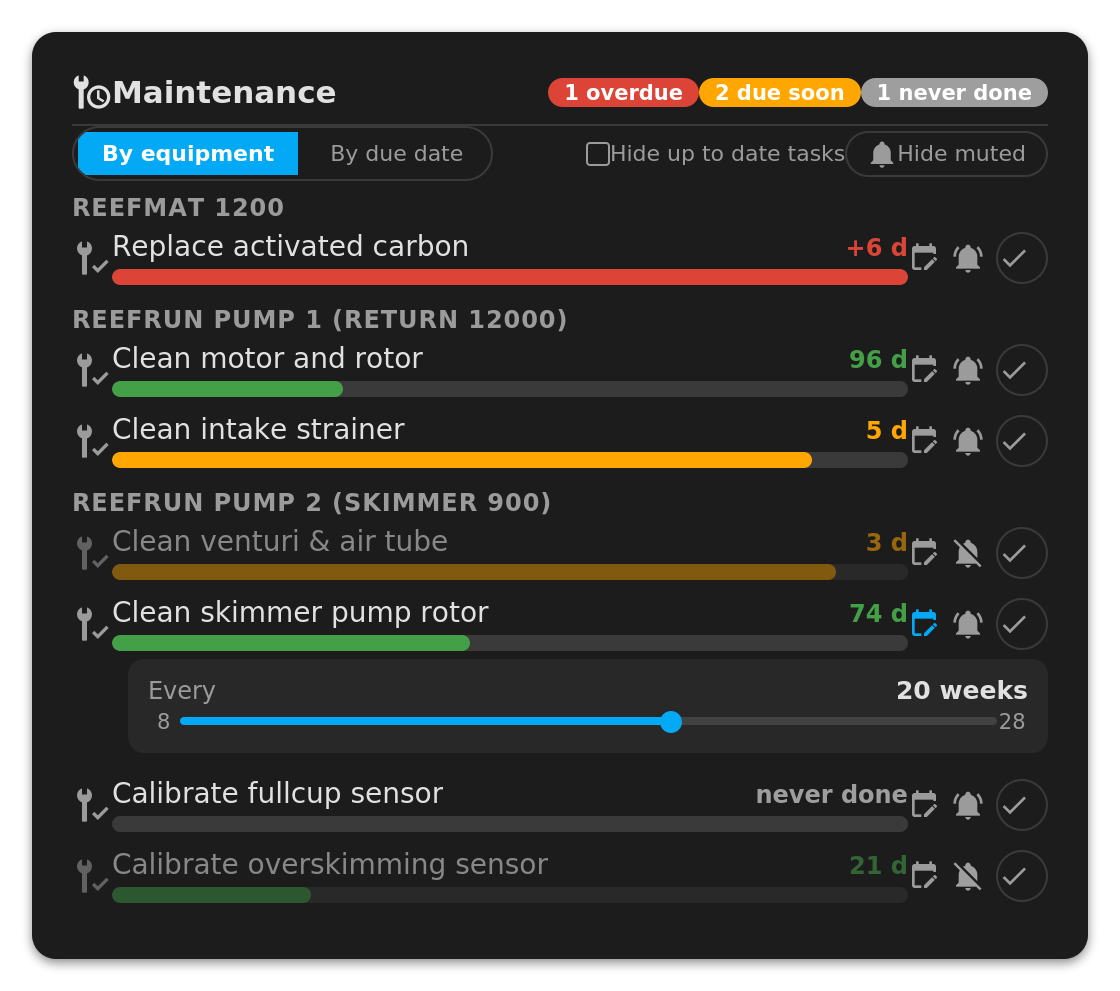
The companion card ha-reef-card gathers every task of the installation into a dedicated view, as if maintenance were a device of its own: one progress bar per task, colored by remaining time, sortable by equipment or by due date, with a button to mark a task as done, a bell to mute it and an inline slider to change its interval.
The integration does not notify by itself, on purpose: who to notify, when and how is your call. That job is handled by the ReefBeat watch blueprint shipped with the repository, which also covers abnormal modes, overdue calibrations, low battery and unreachable devices.
Click the button below and confirm the import in Home Assistant:
A French version is available as
redsea_alerts.fr.yaml.
Alternatively, copy the file into
config/blueprints/automation/redsea_alerts/ and reload the automations.
Then create an automation from the blueprint: Settings → Automations & scenes → Create automation → Use a blueprint → ReefBeat watch (redsea).
Only the first field is mandatory:
| Section | What it does |
|---|---|
| Notification targets | The mobile devices to notify, picked from the device selector. The notify.mobile_app_* service is resolved for you. An optional Android notification channel can be set (default ReefBeat). |
| Maintenance overdue | Alerts when a task passes its due date. Respect the per-task notification switches (on by default) makes the automation obey the switch.*_notify entities, so muting a task in the card also silences the automation. |
| Abnormal mode | Alerts when a device leaves its expected mode. off_grace_minutes (5 by default) avoids false alerts during a feeding cycle or a short manual intervention. |
| Calibration overdue | ReefDose heads and ReefRun skimmer calibrations. |
| Sensor calibration delay (RSRUN) | Full-cup and overskimming sensors of the ReefRun skimmers. |
| Device alert message | Relays the alert messages sent by the devices themselves. |
| Low battery / Device unreachable | Self-explanatory. |
Every section can be turned off independently and has its own exclusion list, so a device under test does not spam you while the others stay monitored. The automation runs on a 5-minute cycle and picks up devices added or removed from the integration at the next cycle, without editing anything.
Note
The blueprint monitors all devices of the integration and their sub-devices. There is nothing to declare when you add a new ReefBeat device.
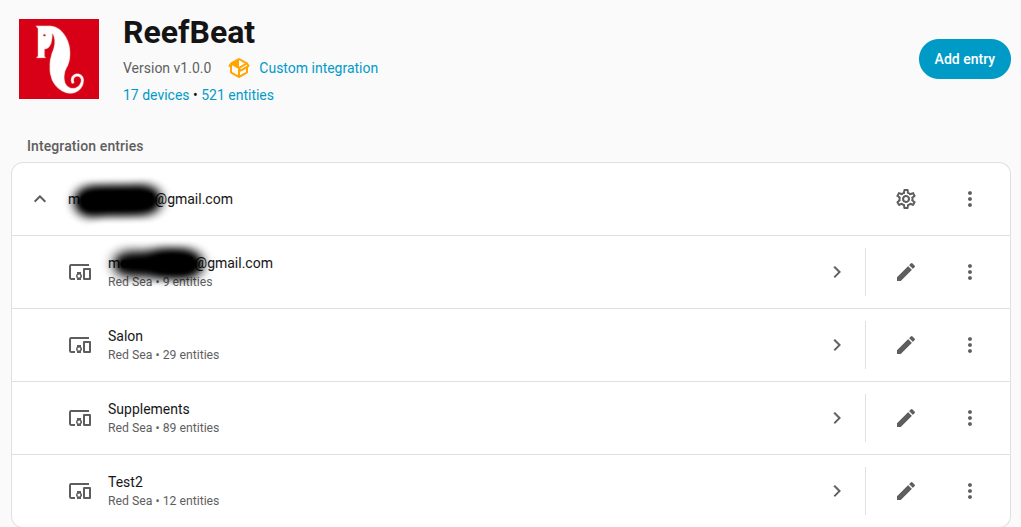
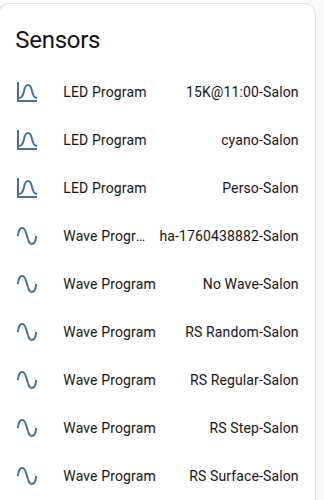
The Cloud API allows you to:
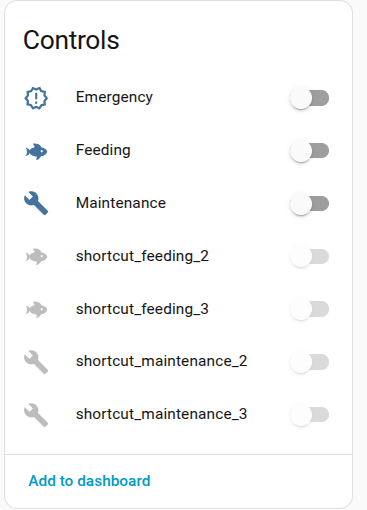
- Launch or stop shortcuts: emergency, maintenance and feeding,
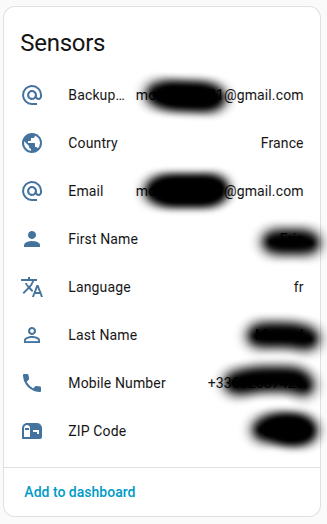
- Get user information,
- Retrieve the waves library,
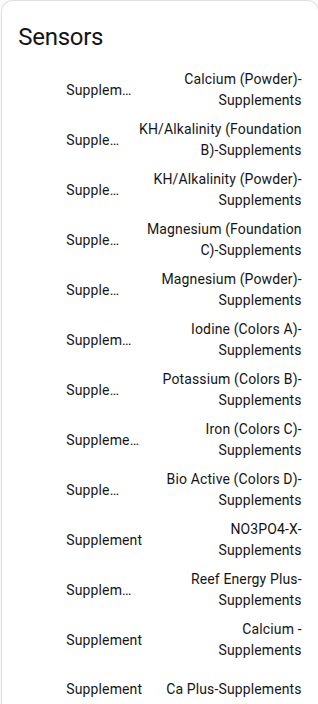
- Retrieve the supplements library,
- Retrieve the LED programs library,
- Be notified of a new firmware version,
- Send commands to ReefWave when "Cloud or Hybrid" mode is selected.
Shortcuts, wave parameters and LED parameters are sorted by aquarium.
Tip
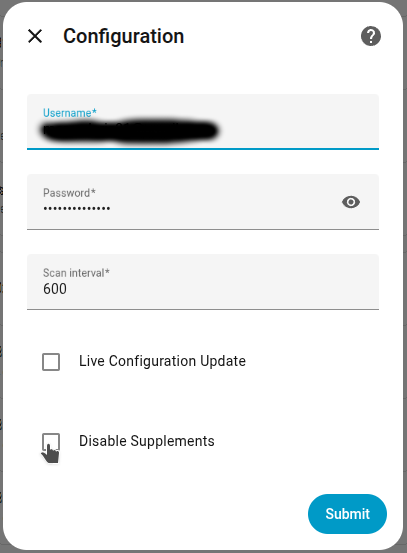
You can disable fetching the supplements list in the Cloud API device configuration.
- Try relaunching the auto-detection with the "Add entry" button. Sometimes devices do not respond because they are busy.
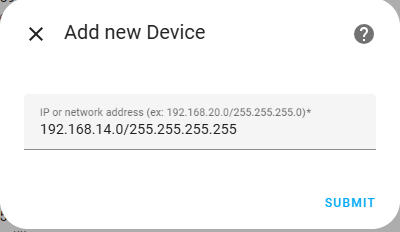
- If your Red Sea devices are not on the same subnet as your Home Assistant, auto-detection will first fail and then offer you the option to enter the IP address of your device or the address of the subnet where your devices are located. For subnet detection, please use the format IP/MASK, for example: 192.168.14.0/255.255.255.0.
- You can also use Manual Mode.
Data is divided into three parts: data, configuration and device-info.
- Data is regularly updated.
- Configuration data is only updated at startup and when you press the "Fetch Config" button.
- Device-info data is only updated at boot.
To ensure that configuration data is updated regularly, please enable Live Configuration Update.